Final Results
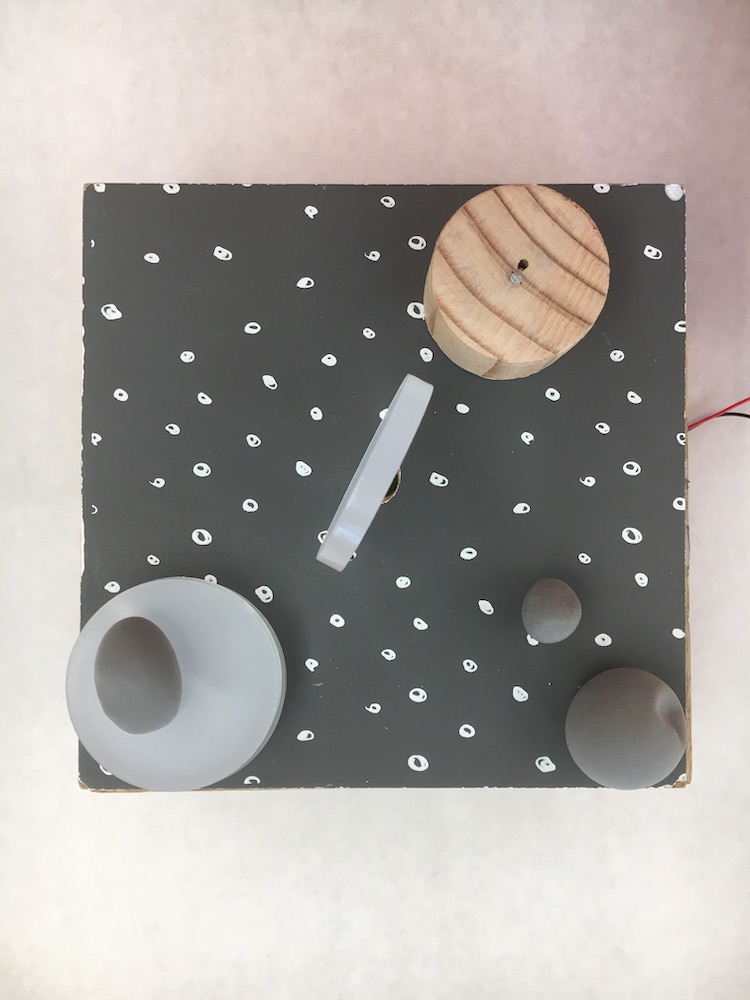
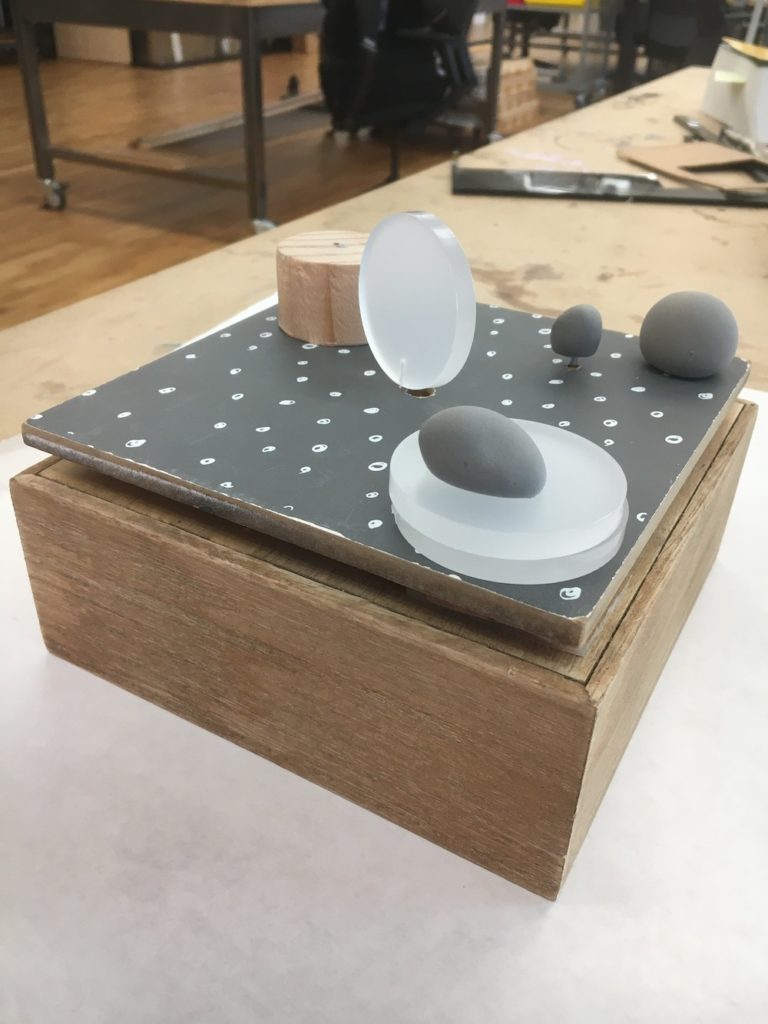
Demo video
The “tick” sound and the rotational objects creates zen-like tranquility.
Inspiration


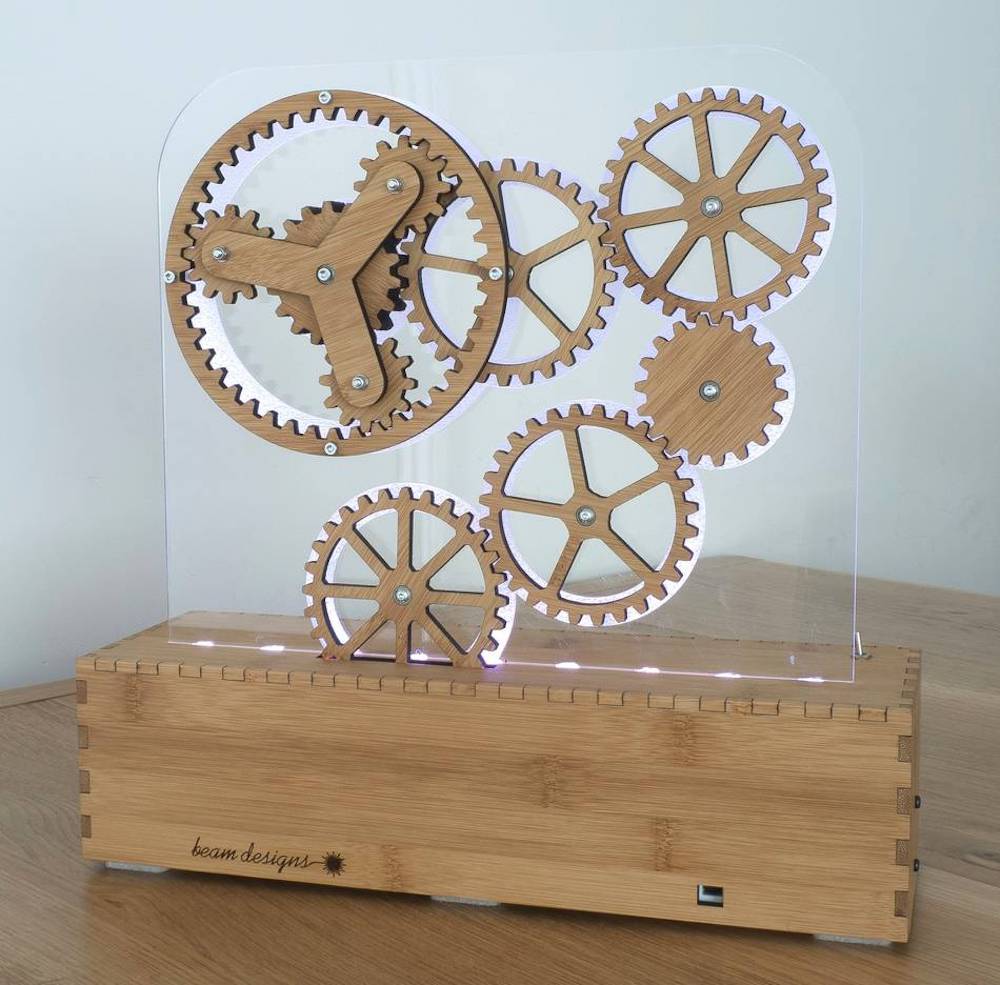
When I think of motors, the first word that appears in my head is “rotation”. I have completed a few projects which contain rotational parts, for example, the hologram that I made in the second week contains an acrylic gear rotational system. I like the mechanics of gear combination, so in this project, I want to create a rotational product containing gears.
Sketch and Plan
My initial plan is to make a rotational surface with rotational objects on it. Each object rotates independently with a motor attached. But after I ran some tests, I found that the torque of the motor I have is not strong enough to have it turned around.
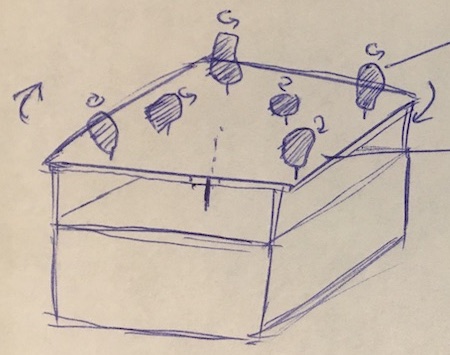
Therefore I adjusted my plan that the surface is not longer movable but the objects above still remain spinning.
Material
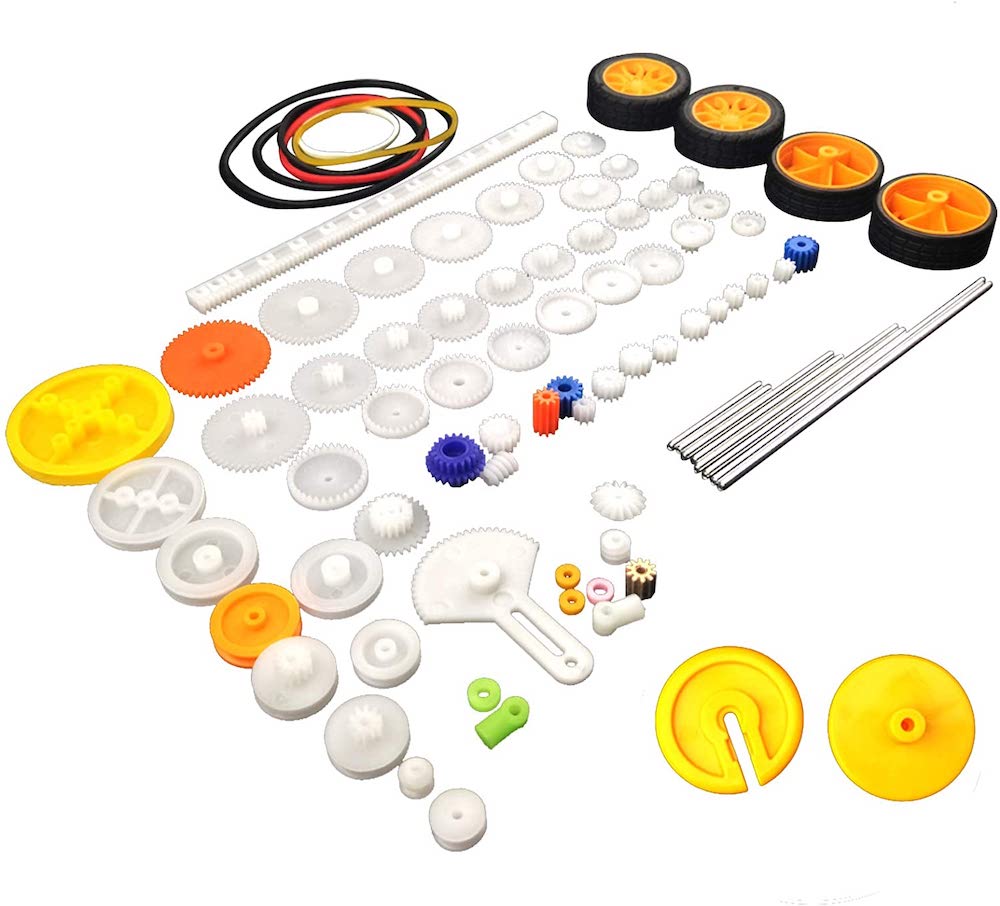
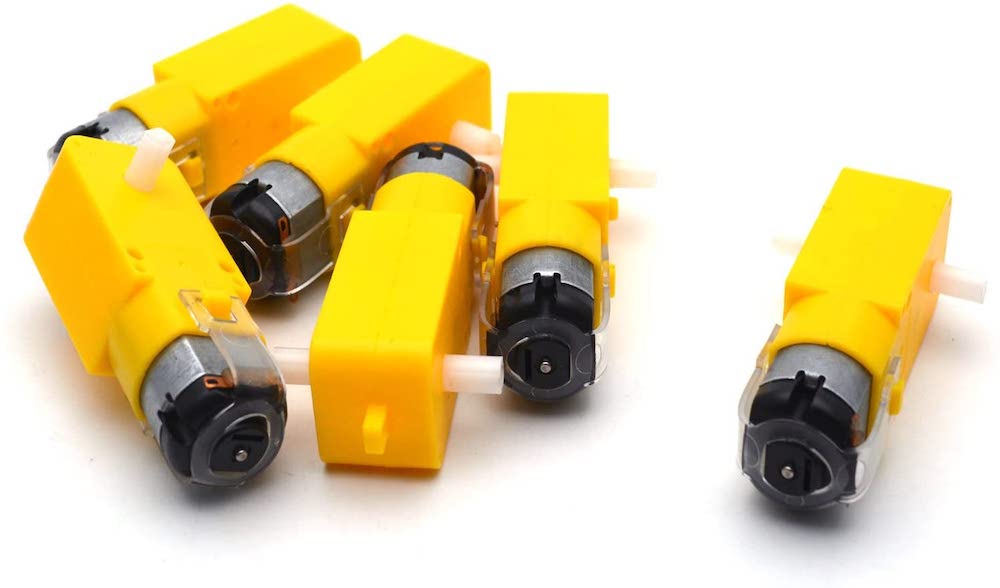
I bought a EUDAX 82 pcs Plastic Gear Package Kit, Antrader Gear Motor Dual Shaft 3-6V TT Motor for Smart Car Robot and foam clay from amazon.

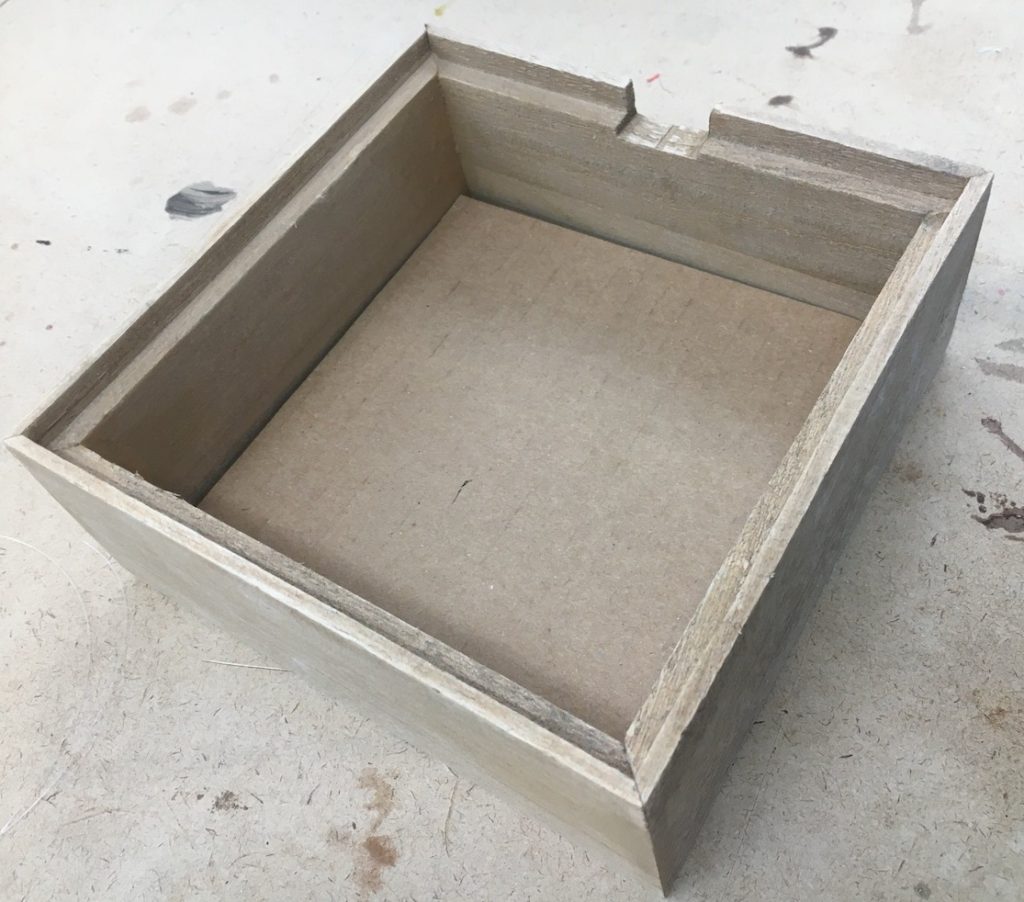
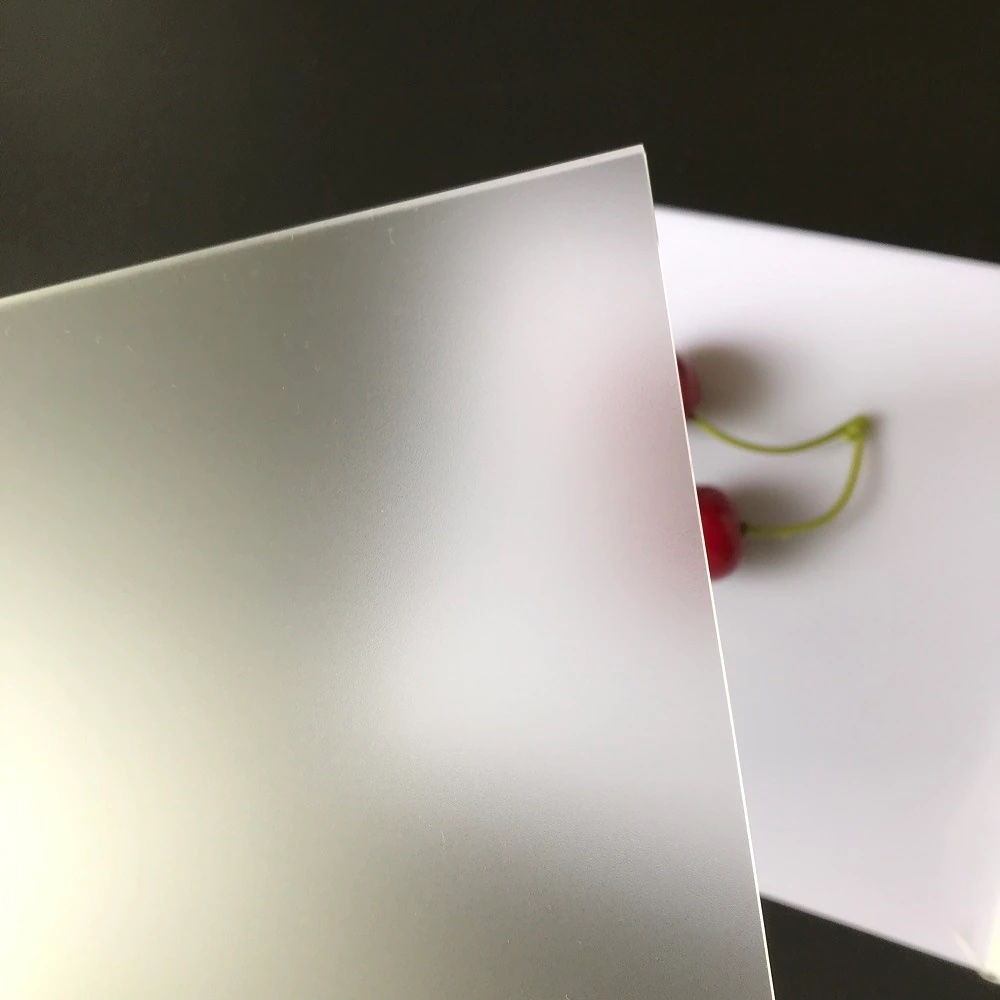
I found this box somewhere in my house and bought this frosted acrylic sheet (6” x12” x 1/4”) from the Canal plastic center.
Prototype
The major test that I did in my prototype was to make sure that the gear combination worked in the way that I expect. I used blue tape to fix the motor for the prototype.
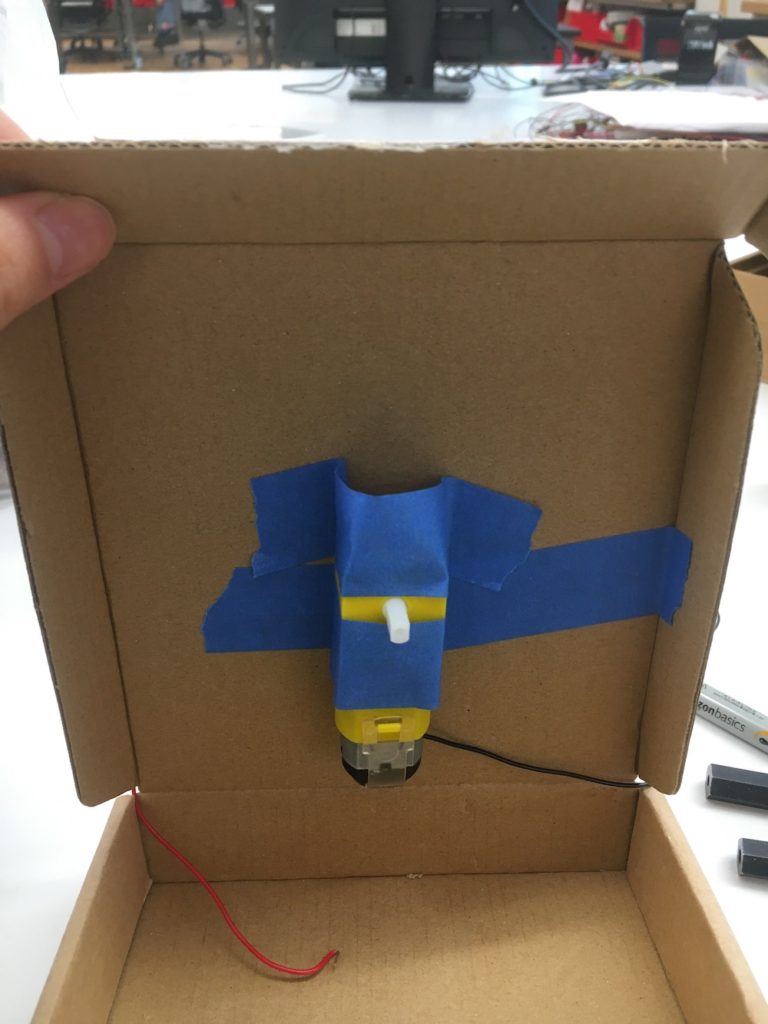
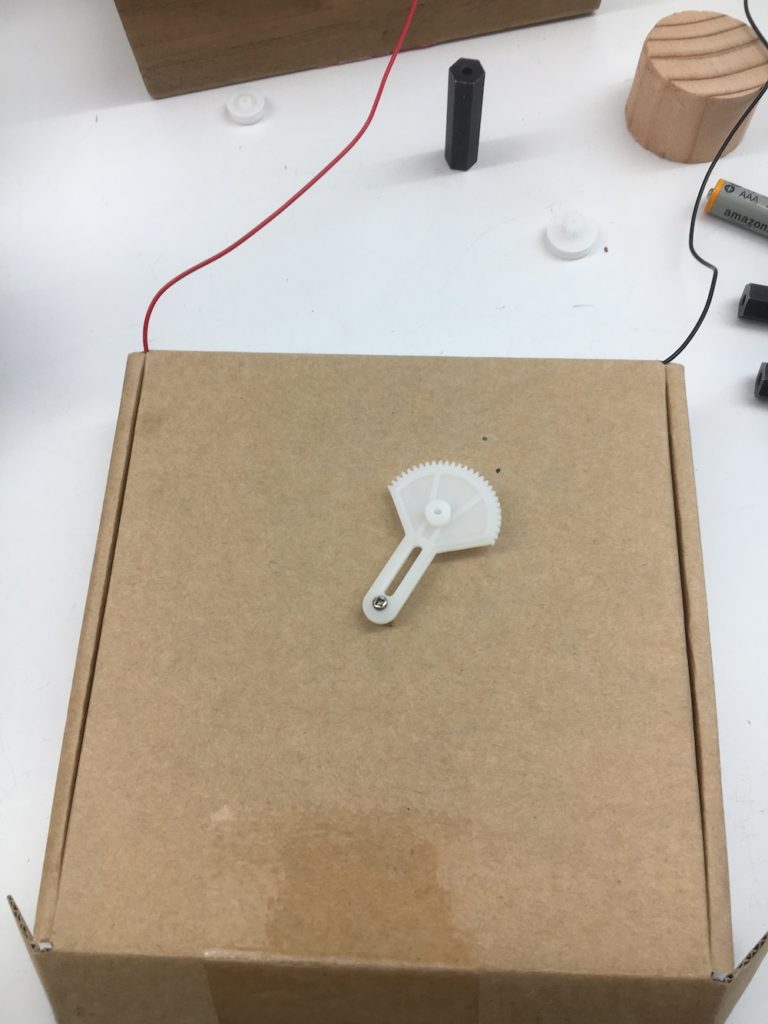
I put another gear near the center gear to test whether the motor has enough power to rotate both of them.
Implementation
To accurately mount the motor on my wood box, I created a jig for assistance with the cardboard. Then I drilled the holes on the lid to insert nails for the motor mounting.
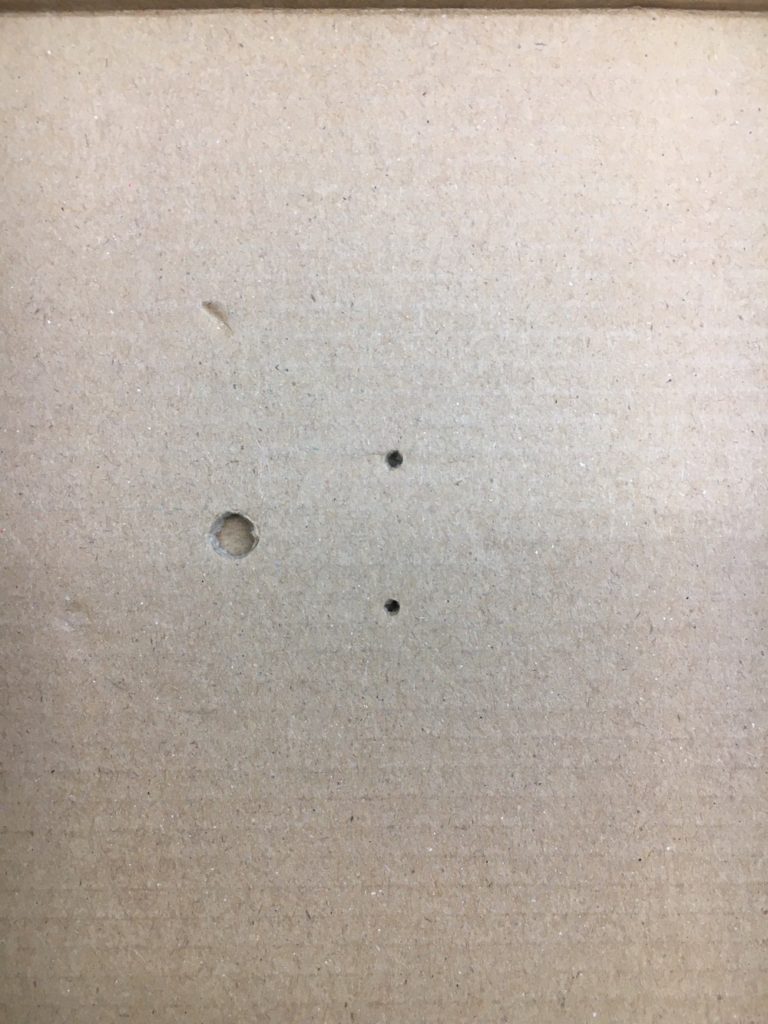
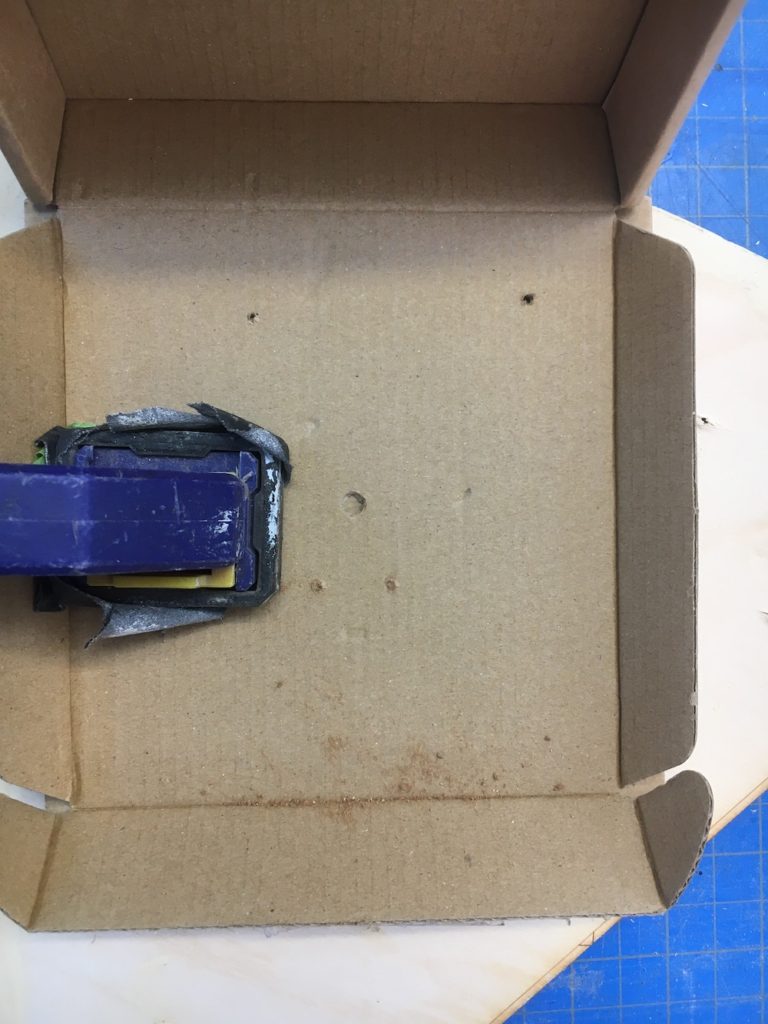
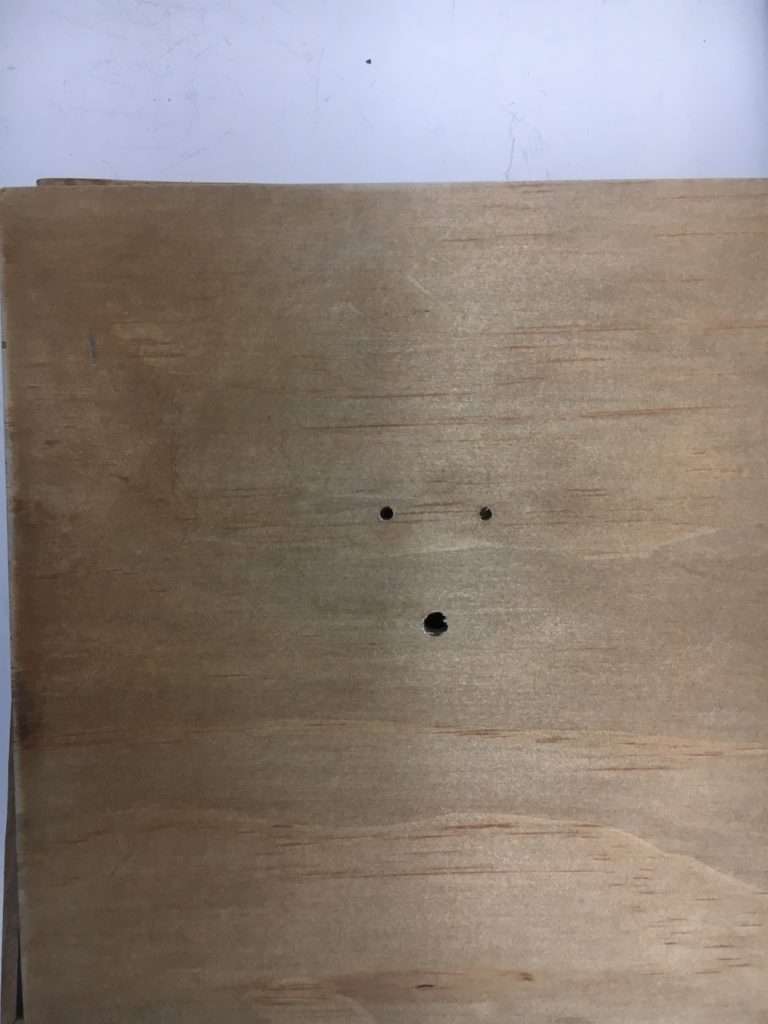
But later I found out that if I attached my motor on the backside of the lid, then all gears would be exposed, which was not what I expect. I then changed my plan: mounted the motor on the bottom of the box. To easily switch on and off the motor, I also attached a battery holder inside the box.
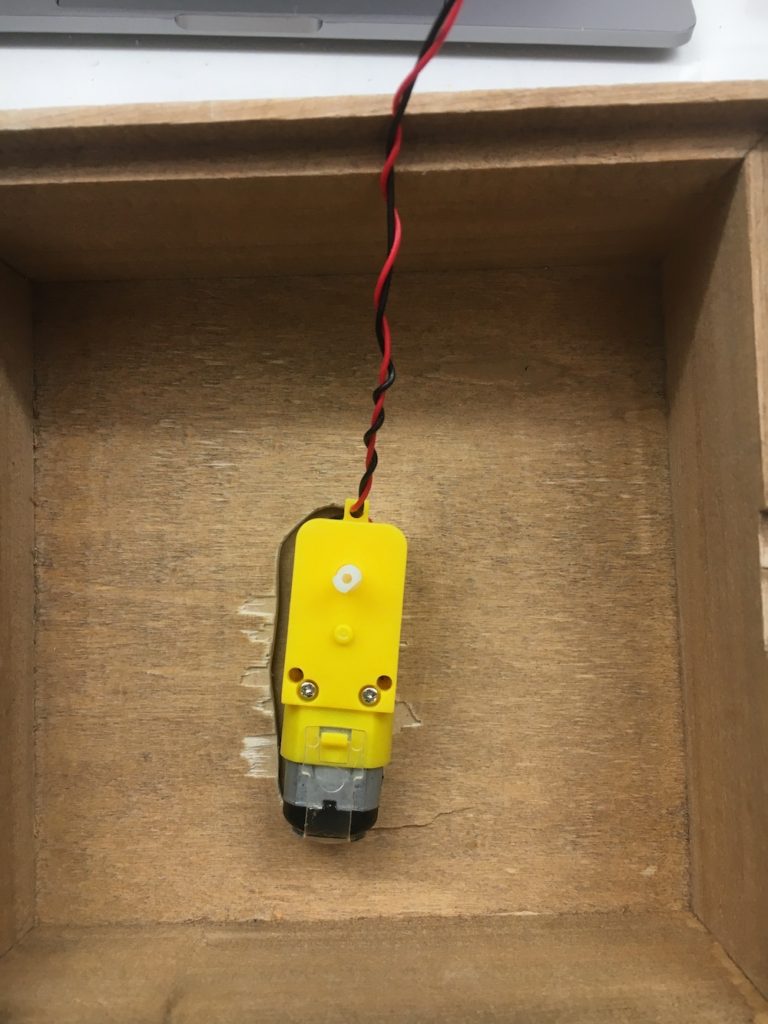
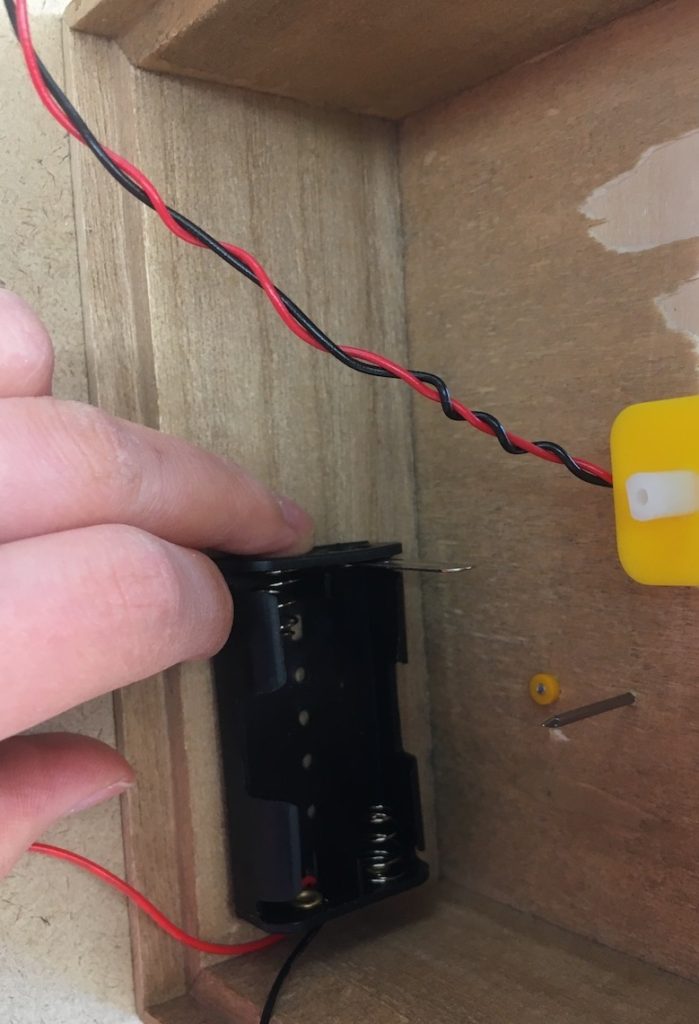
I then put two gears on the box to test again whether the motor could rotate both of them.
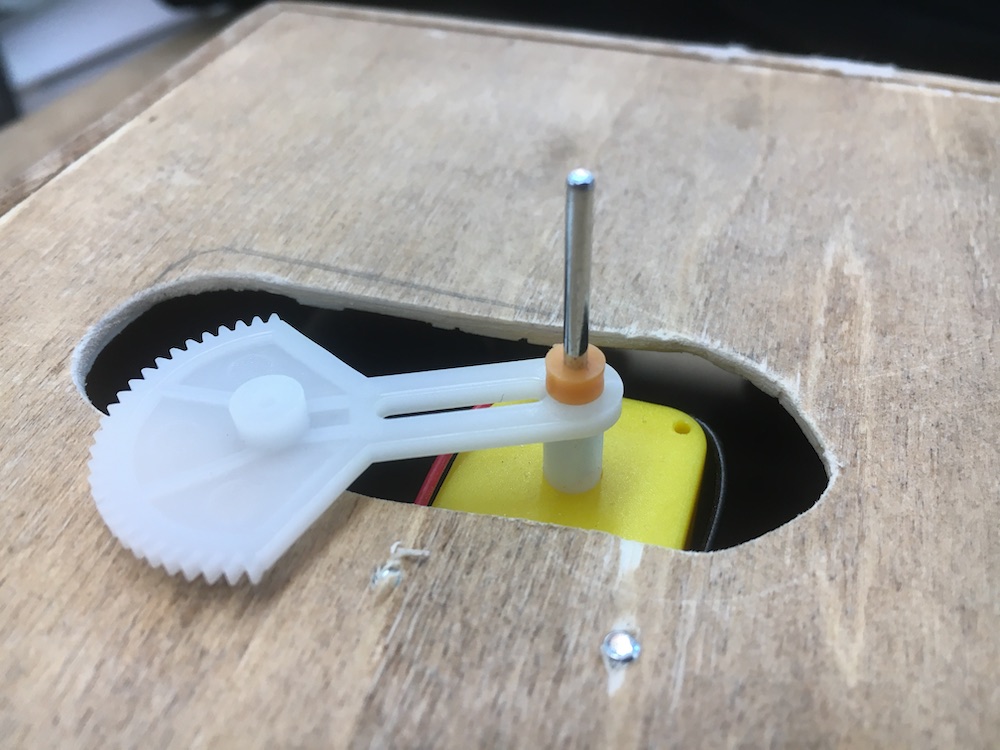
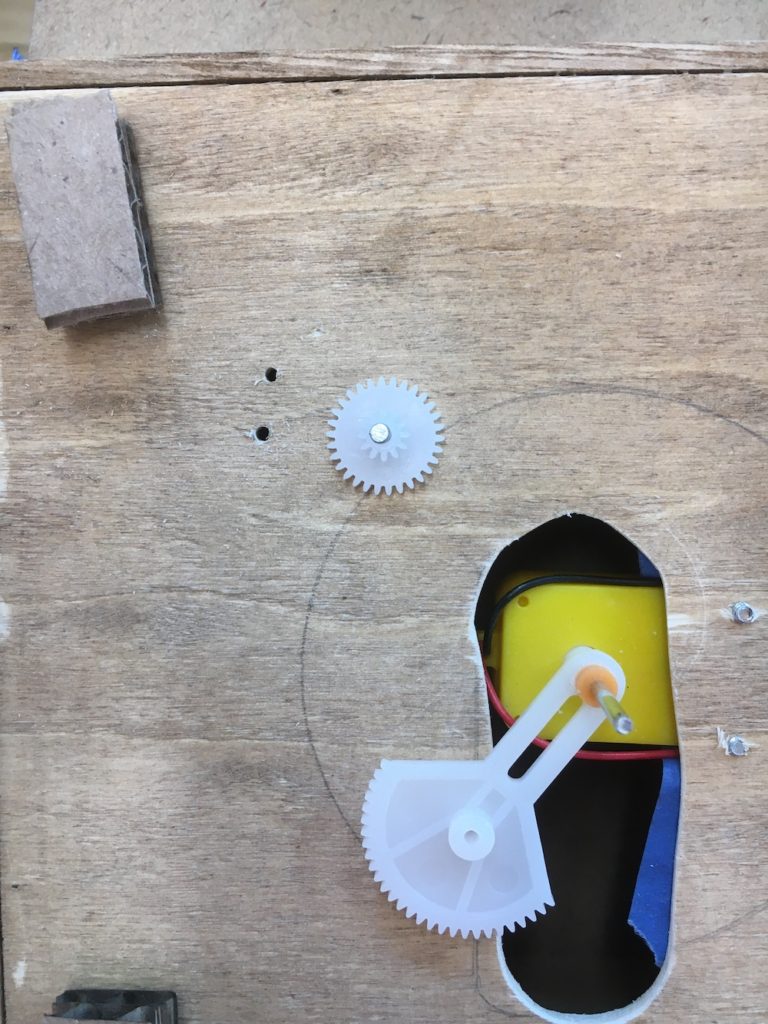
When I connected the power to the motor, the center gear began to spin but the other gear was not able to be pushed every time the center gear spun by. With close observation, I found that due to the shape of the center gear, the spinning trajectory was not horizontally but tilted a bit. To fix that problem, I glued the orange peg and center gear on the metal rod. And it solved the problem.
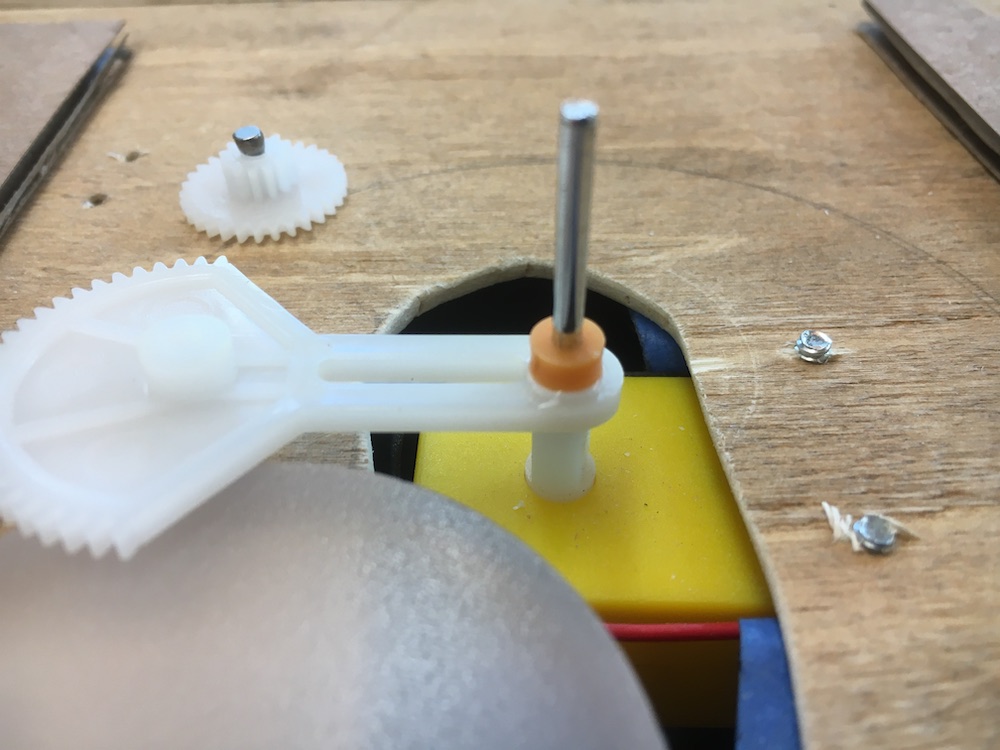
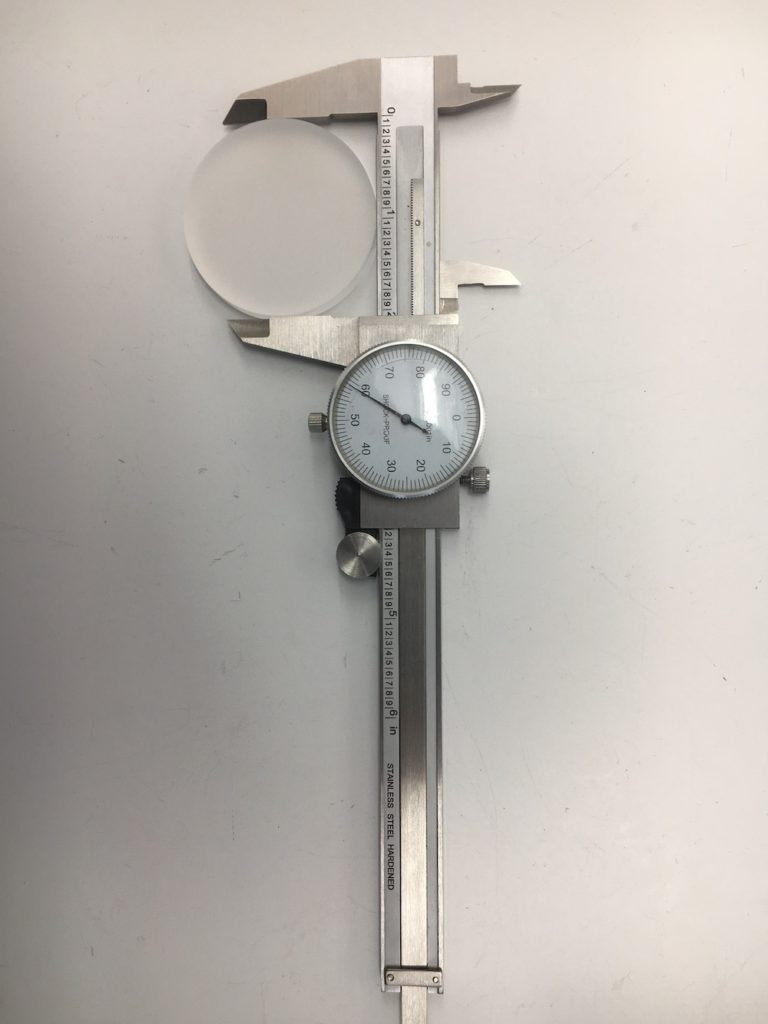
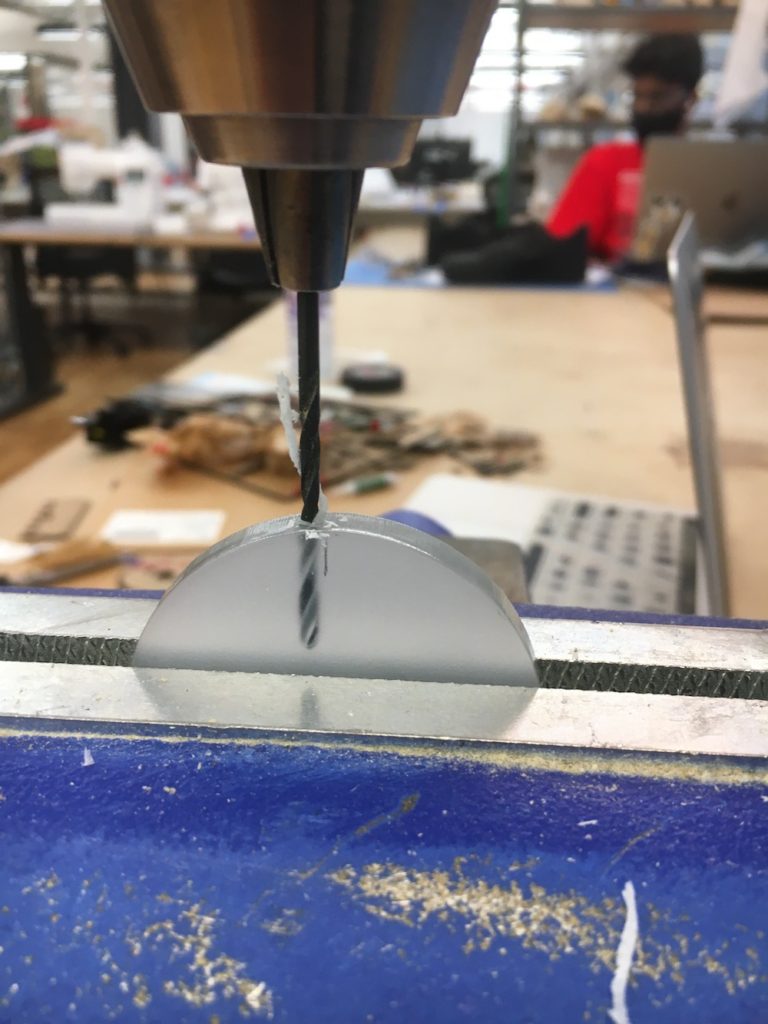
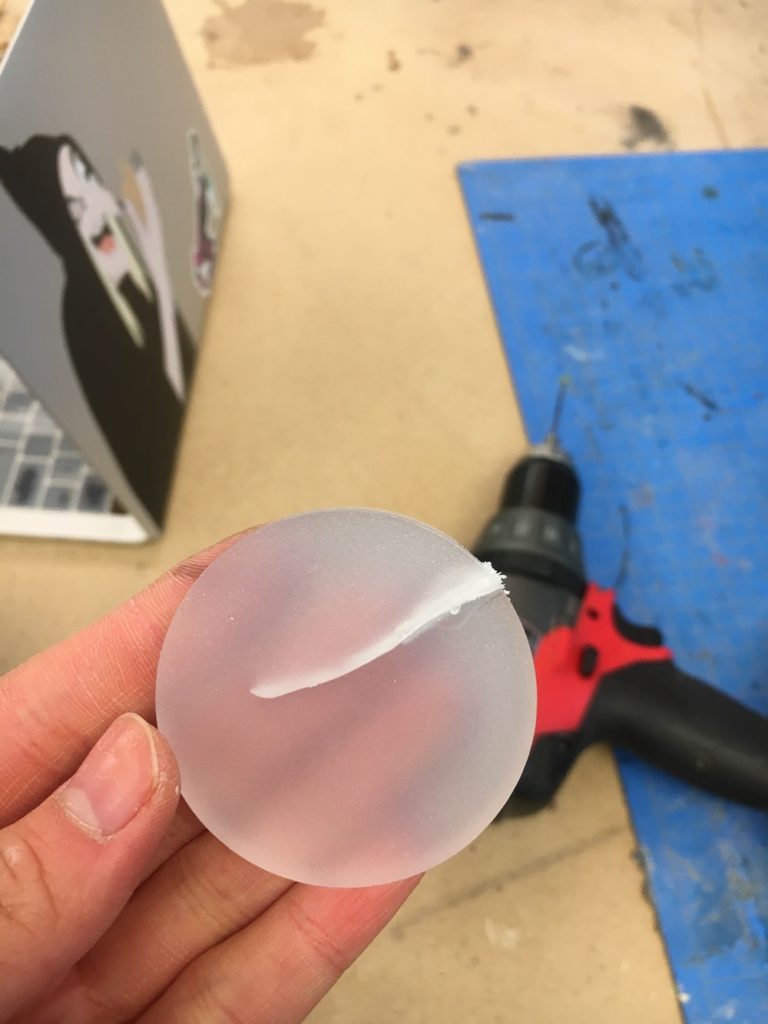
I laser cut a few round acrylics to be the rotational objects on the top. The acrylic was too easy to break. I tried to drill a hole on the side of the round acrylic but turned out to crack it. With some waste, I finally got one with a shallow tunnel drilled in. This one was attached to the center gear to spin freely.
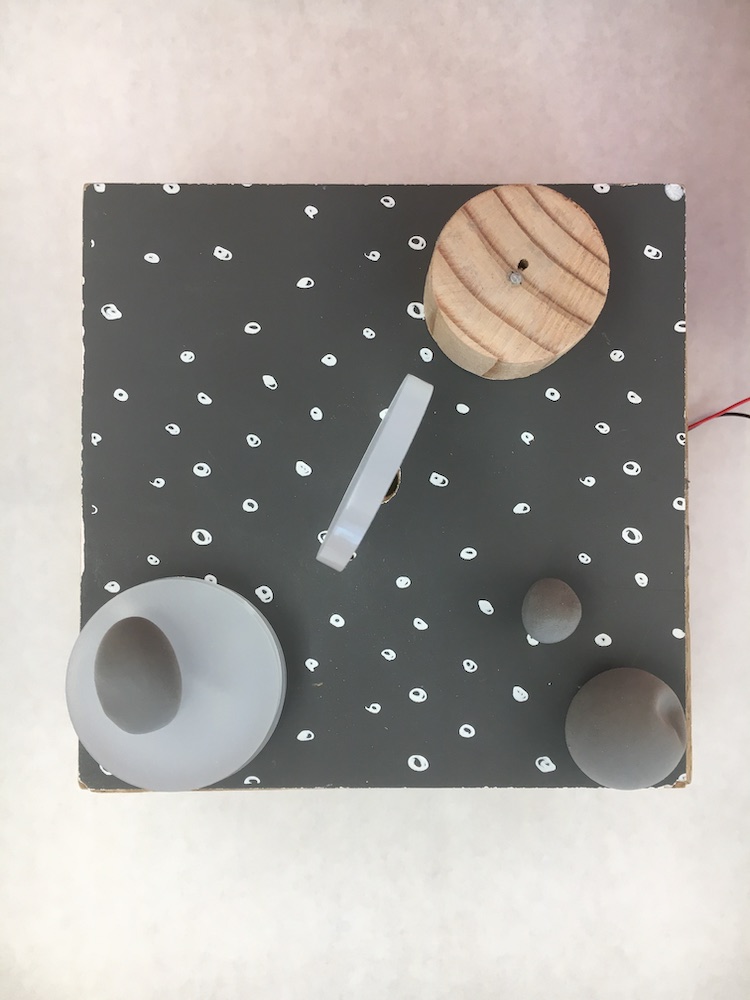
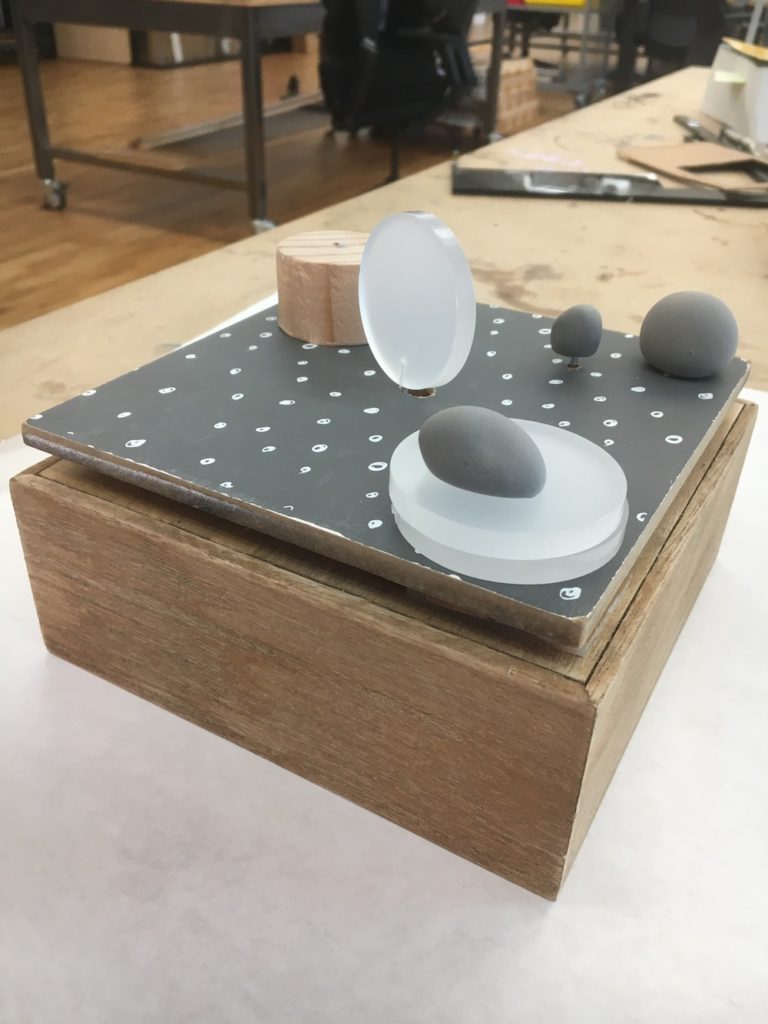
I also created some “stones” with foam clay and glued them to the top of the box as decors. Even though the final product is not exactly what I planned, it still looks look to some degree.
Appendix
Inspiration Images: